
The grid and sidebar work together to let you browse, select, and organize your photos.
Sidebar Sections
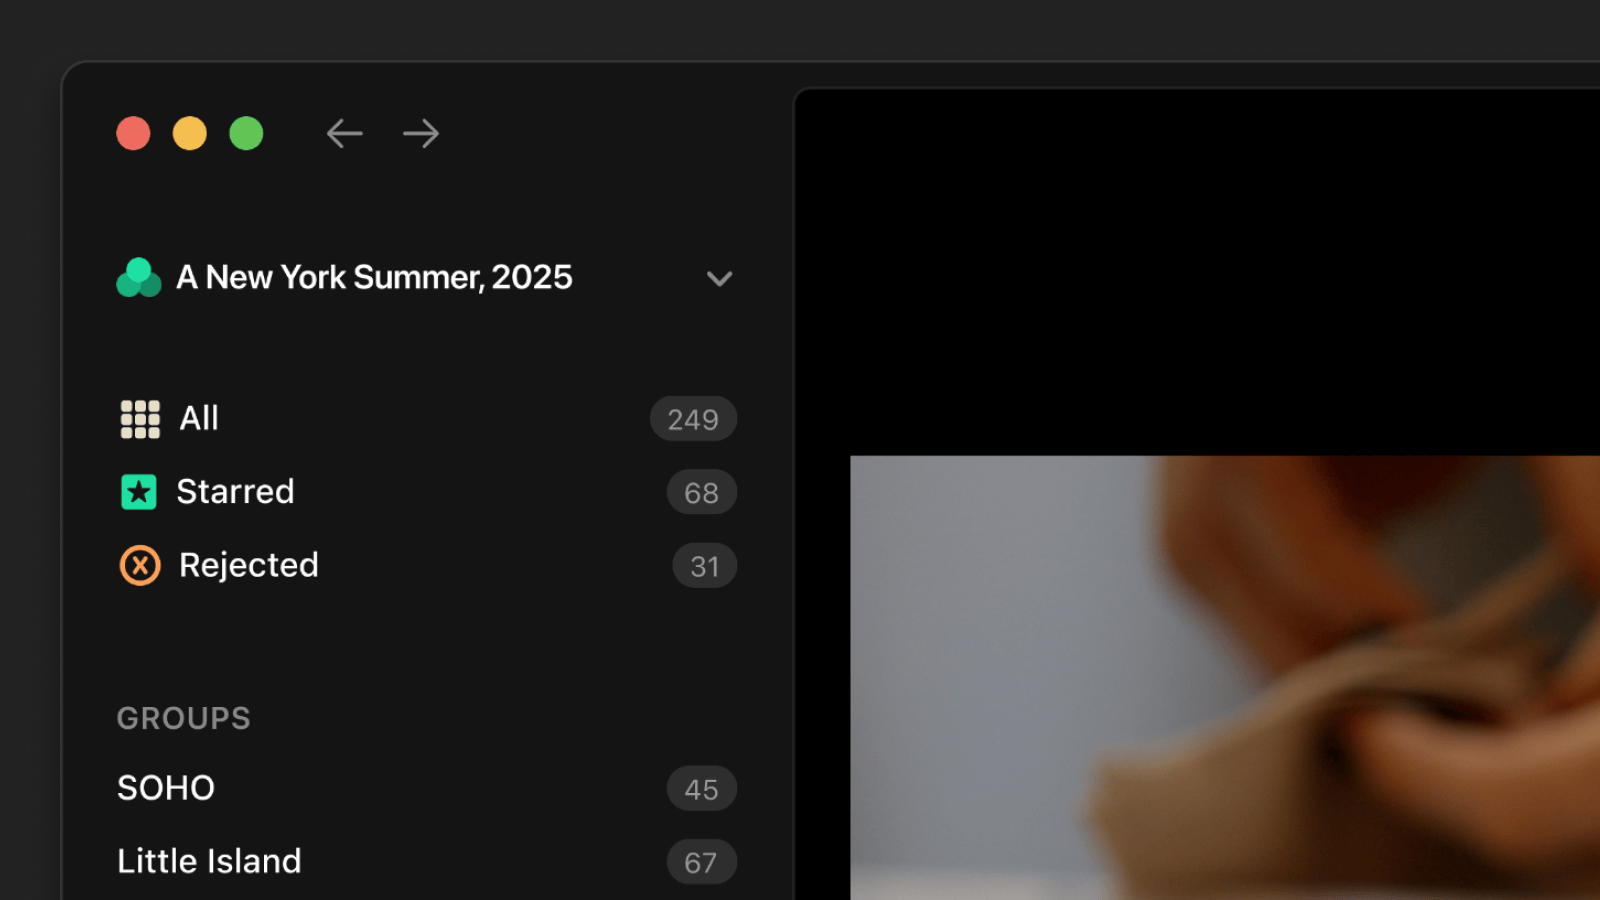
All (Ctrl+A)
Shows every photo in the project.
Starred (Ctrl+S)
Shows photos with one or more stars (ratings 1-5), grouped by star rating. This view displays all photos you’ve given a signal, regardless of which specific rating you used.
Aphera’s rating system is built on the XMP Rating standard (xmp:Rating), which organizes photos into three categories:
- No Stars (0): The default state for unrated photos
- Starred (1-5): Photos with any star rating, displayed together and grouped by rating
- Rejected (-1): Photos marked for exclusion
Within the Starred view, Aphera groups photos by rating (1-star, 2-star, etc.), making it easy to see your culling progress. Use stars however you like: as a binary favorite (1-star), for multi-pass refinement (progressively increasing stars), or with specific meanings per project.
Rejected (Ctrl+D)
Shows photos marked as rejected using Option+Delete. Rejected photos disappear from all other views (All, Starred, Groups), acting as a soft delete. This keeps your workspace clean without permanently removing files from the project.
Pressing Option+Delete again on rejected photos clears the rejected flag and returns them to unrated. When the selection is mixed (some rejected, some not), all selected photos are set to rejected.
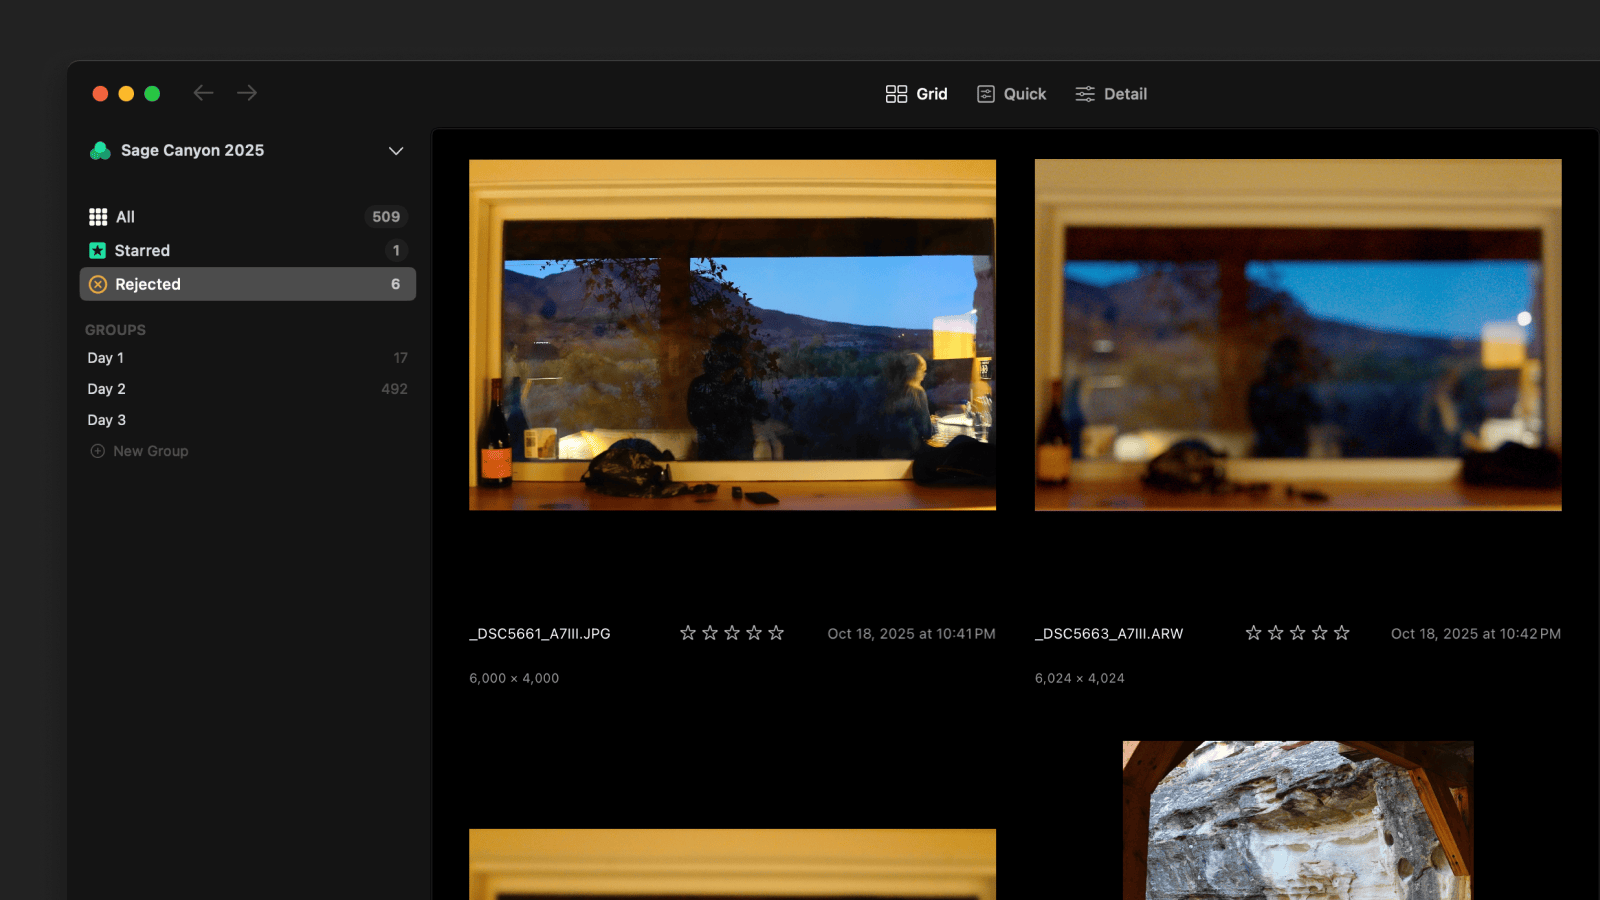
Note: The Delete key alone removes photos from their current Group (when in a Group view), rather than rejecting them. Rejecting is a heavier operation that requires Option+Delete and works in all contexts.
Groups
Photo groupings within the project for organizing photos by any criteria (location, subject, event, etc.). Groups can be filtered by star rating to focus on specific subsets.
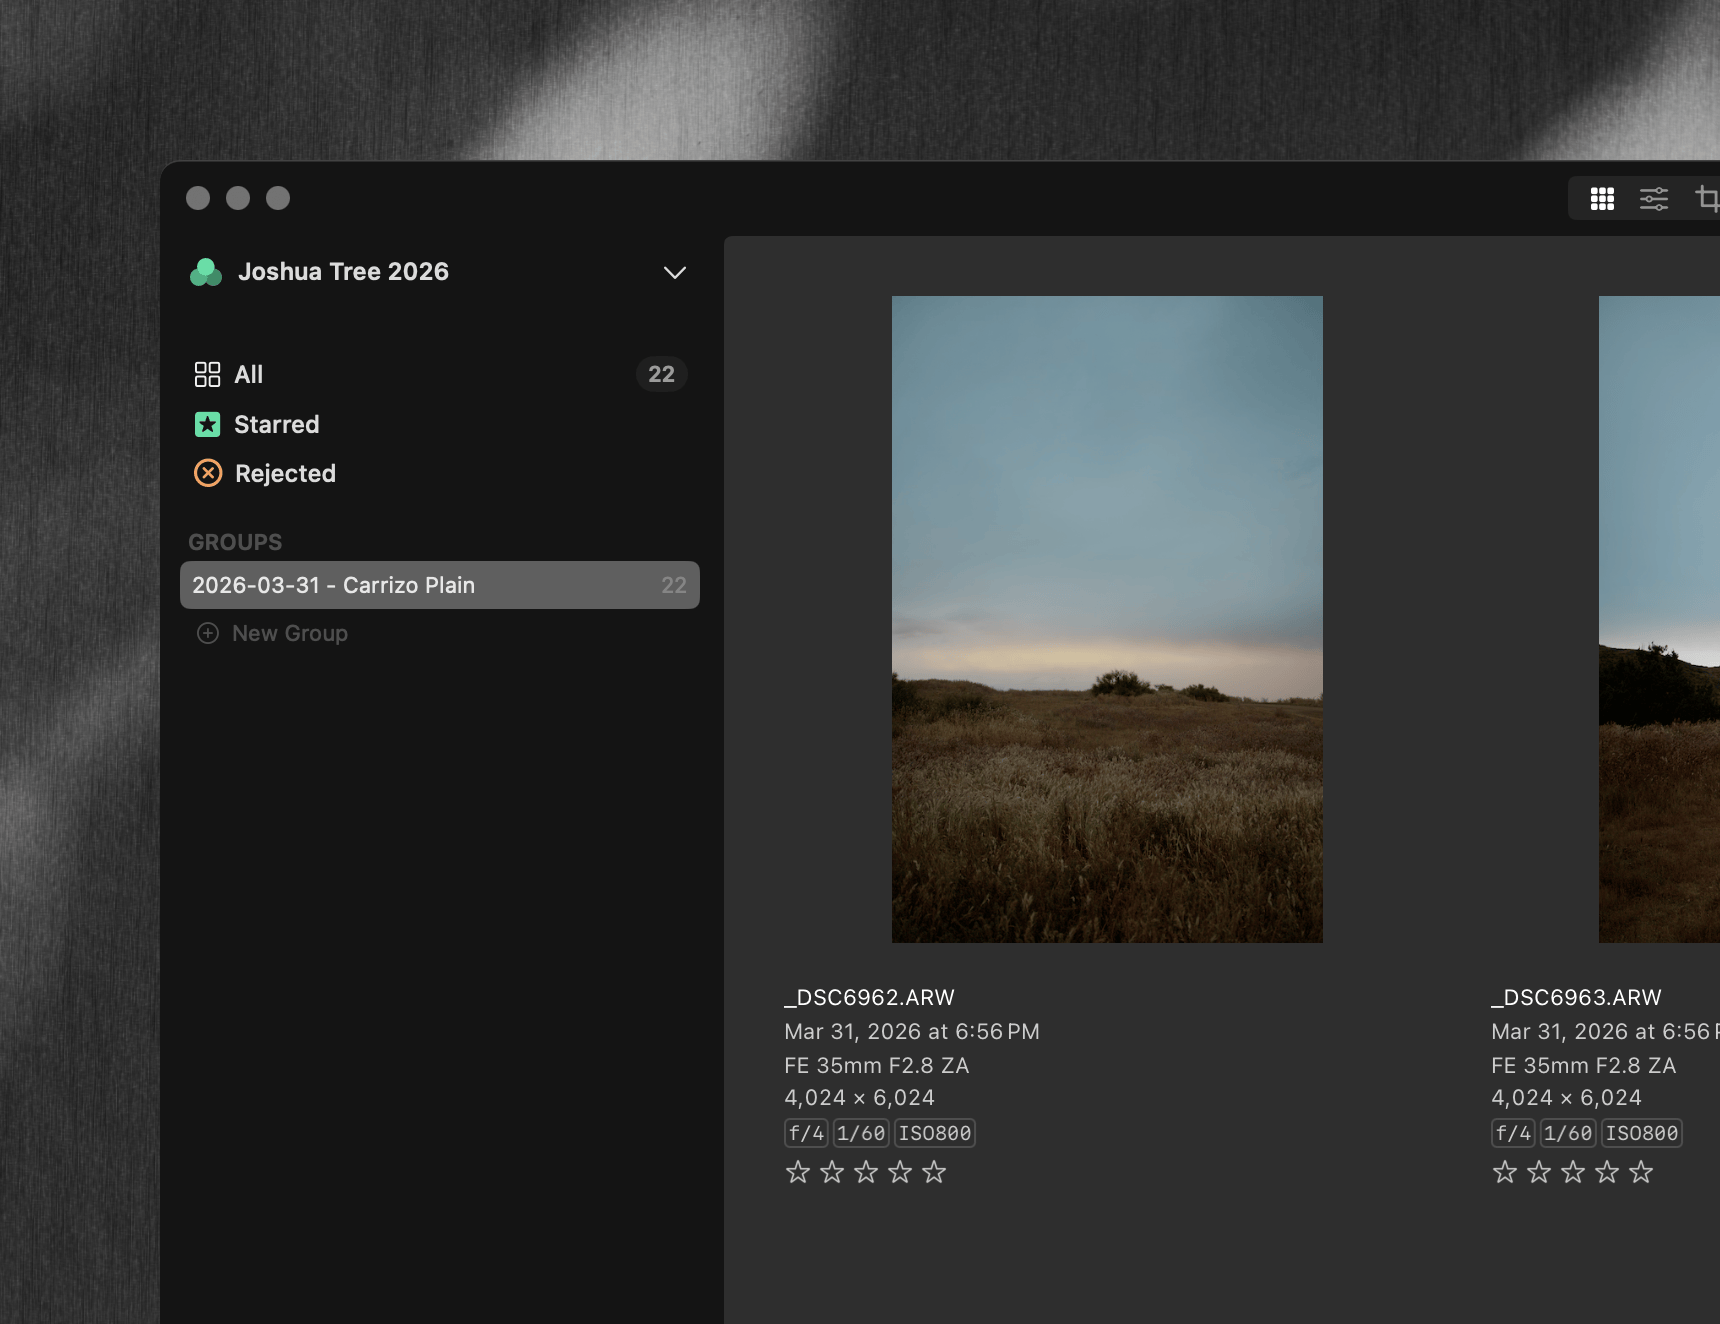
Adding Photos to Groups: Drag to a group or right-click any photo and select “Add to Group” from the context menu.
Grid
The grid displays photo thumbnails for the current sidebar selection.
| Shortcut | Action |
|---|---|
| / | Show/Hide Metadata |
The grid has two modes:
- Extended (default): shows photo metadata below each thumbnail — filename, star rating, camera/lens info. Layout adapts to column count with richer detail at fewer columns.
- Regular: thumbnails only, no metadata.
Source File
A photo imported as a RAW + JPG pair has two source files, one active at a time: the file that is displayed, edited, and exported. See Importing for how pairs are formed.
The active file’s name appears in the photo metadata — under the thumbnail in Extended grid mode, and in the photo info line in View and Develop modes. When the photo has more than one file, the name has a chevron; click it and choose the file to make active. A photo with one file shows its name as plain text.
The same choice is available from Photo > Source File and from the Source File submenu in the photo context menu. With one photo selected the submenu lists each file by name and role, for example IMG_1234.DNG • RAW. With several photos selected it lists the roles — RAW and SOOC — and applies the chosen role to every selected photo that has it. The submenu reads No Alternate File when the selection has nothing to switch to.
Switching the source file is undoable with Cmd+Z. Each file keeps its own adjustments, so switching back returns to the edits made on that file.
Balance and Look Tools in Grid
Grid mode includes Balance and Look tools for quick tonal adjustments and look application without leaving the grid view. Double-click any image to open it in View mode for focused editing while maintaining access to your project organization.
Selection
Click a photo to select it. Use standard selection modifiers:
| Shortcut | Action |
|---|---|
| Cmd+A | Select All |
| Cmd+Shift+A | Select None |
Getting Photos In and Out of Aphera
Bring photos in with File > Import Files (Cmd+I), by dragging files onto the window, or by pasting files with Cmd+V. See Importing.
Take photos out three ways:
- Export (Cmd+E) — writes the edited image to disk with the active export preset. See Exporting.
- Share — renders the edited image with the active export preset and hands it to the macOS share sheet. The button is in the toolbar.
- Copy (Cmd+C) or drag out — takes the photo’s active source file: the original file on disk, not the edited rendering. Paste or drop into the Finder, Mail, or any app that accepts files.
Drag photos onto another project’s window to import the files into that project. Adjustments are not included.
Cmd+Shift+C copies adjustments instead of files. See Adjustments.
Reject & Remove
Aphera uses a four-tier system for removing photos:
| Shortcut | Action |
|---|---|
| Delete | Remove from Group |
| Option+Delete | Toggle Rejected — marks as rejected and hides from the collection; press again to clear |
| Cmd+Delete | Remove from Project |
| Cmd+Shift+Delete | Move File to Trash |
The last two ask for confirmation, and both are undoable with Cmd+Z.
Remove from Project takes the photos out of the project and leaves the files on disk. The confirmation states how many photos are affected.
Move File to Trash takes the photos out of the project and moves the underlying files to the Mac’s Trash. Every file of a photo goes, so a photo imported as a RAW + JPG pair takes both of its files with it. The menu item and the confirmation both count files rather than photos: the menu reads Move File to Trash or Move Files to Trash, and the confirmation names the number — Move 12 Files to Trash? The files will be missing from any other project that references them. Undo returns the files from the Trash to their original location and restores the photos to the project; it cannot recover files once the Trash has been emptied or the files moved out of it. A toast reports the result (“Moved Files to Trash”); if some files could not be trashed, it reports how many of the selection succeeded.
Navigation
| Shortcut | Action |
|---|---|
| Left Arrow | Previous photo |
| Right Arrow | Next photo |
Arrow key navigation is also available when the sidebar has focus.
Photo Organization
Rating
| Shortcut | Action |
|---|---|
| 1 – 5 | Set star rating |
| 0 | Clear rating (no stars) |
| ` | Clear rating (no stars) |
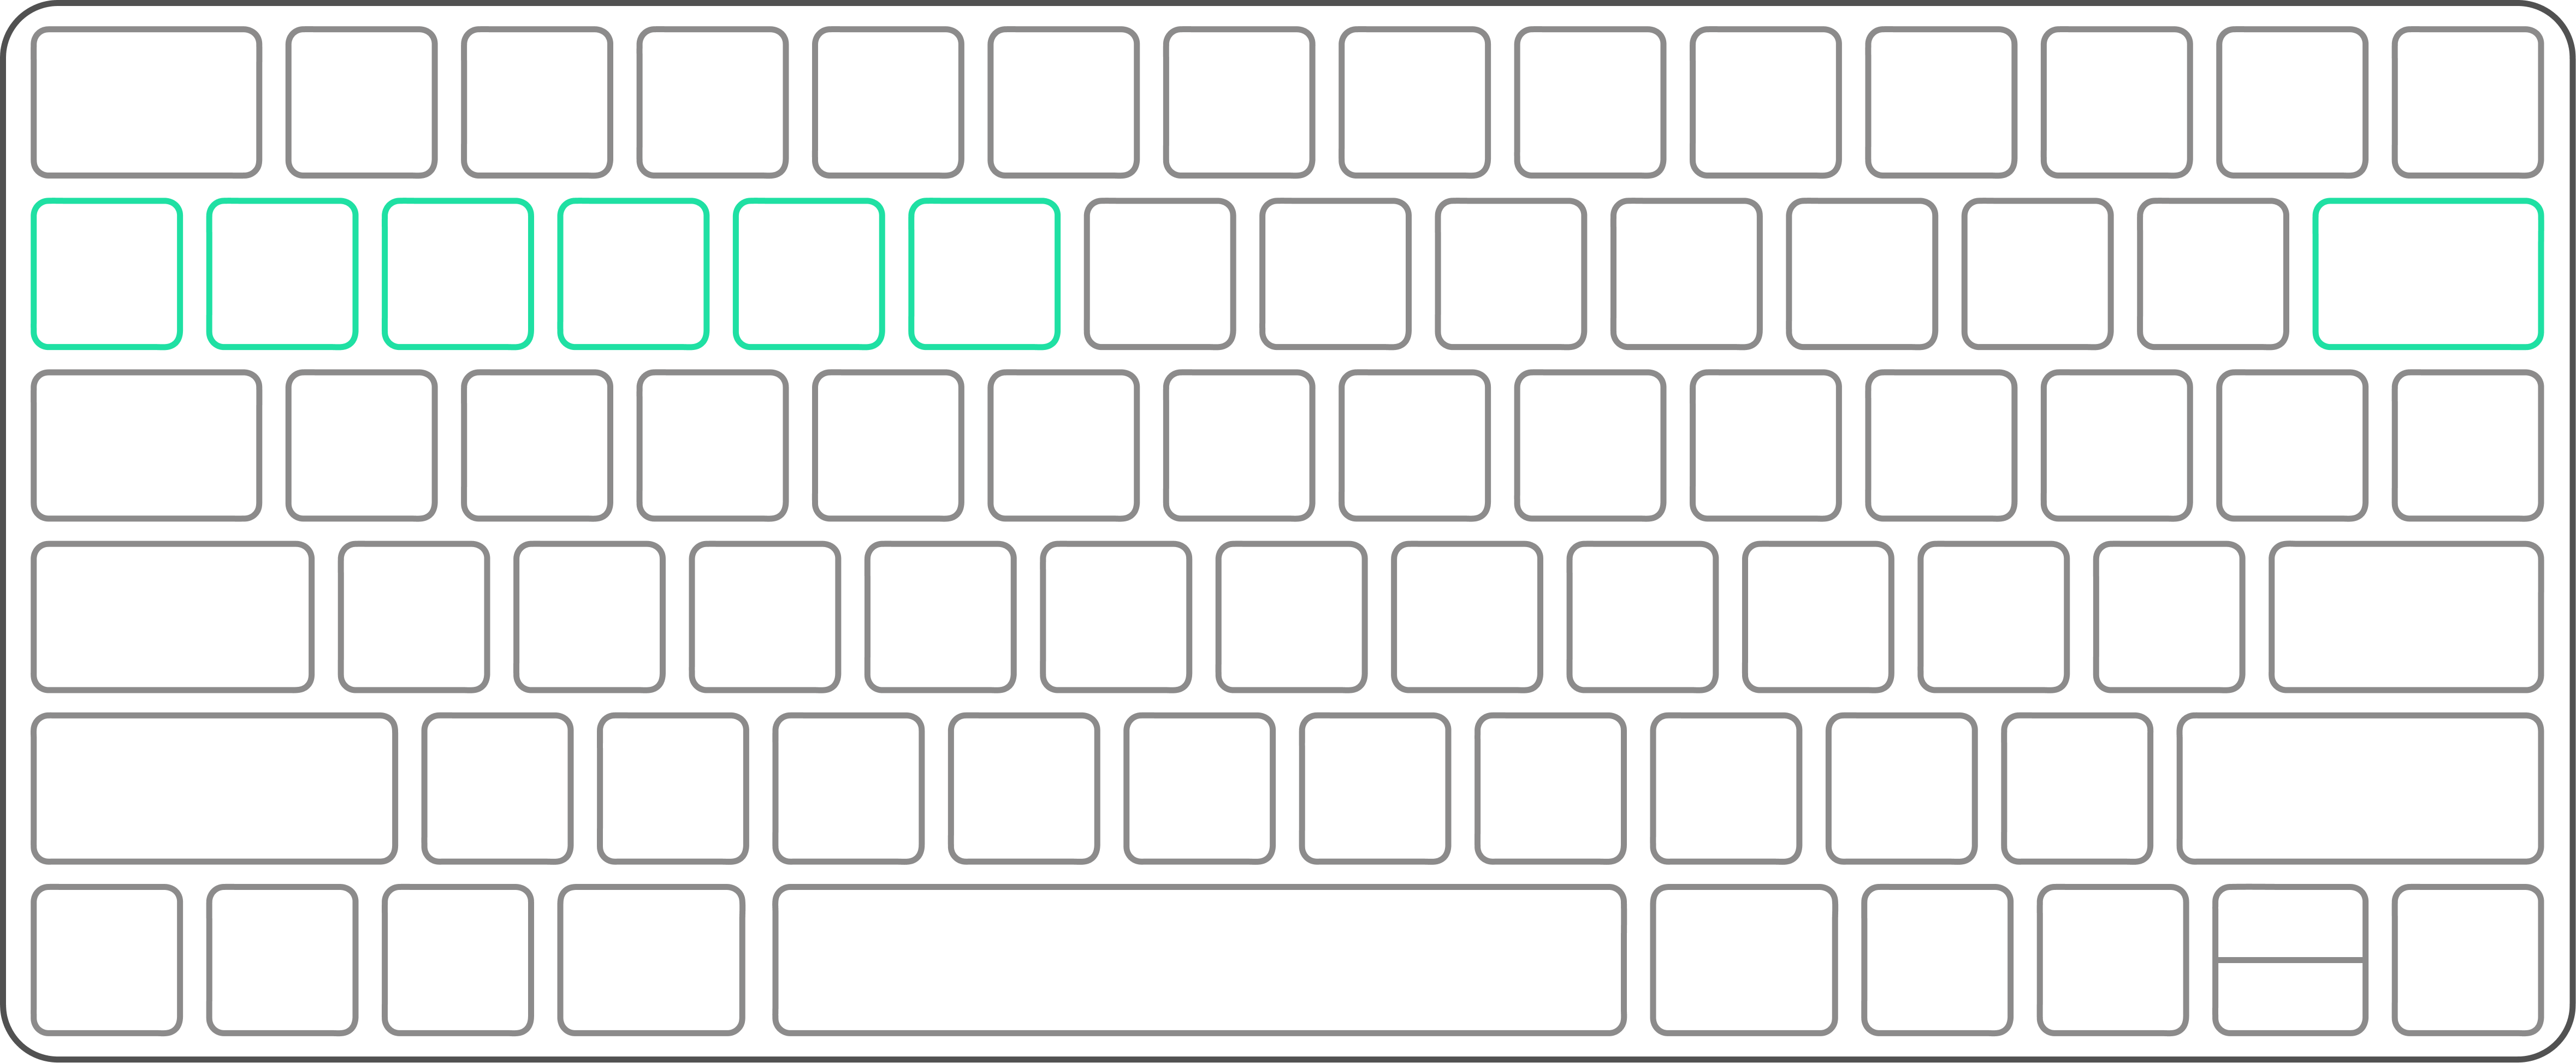
Rating works on the current selection, including multiple photos. A toast notification confirms the change.
If a photo has a rating already assigned, pressing the same rating key leaves it in place. The rating keys and this behavior are both configurable; see Keyboard Settings.
Using Ratings: Stars are local to each project, giving you flexibility in how you use them. Use 1-star as a simple favorite, or use multiple passes with increasing stars to progressively refine your selection. Rather than assigning permanent meaning to specific ratings across your entire catalog (like “5-star always means client pick”), filter by rating and export with the appropriate preset for the moment. See Exporting for details on Export Presets.
Compatibility: Aphera reads XMP-standard ratings — Aphera picks up a rating another tool already wrote to the file at import. Ratings you set in Aphera live in the project; Aphera does not write them back to your files or embed them in exports.
Context Menu
Right-click on any photo to open a context menu with the following options:
- Show in Finder (single selection)
- Use as Cover Image (single selection) — sets the photo as the project’s cover in the Projects window. See Projects.
- Rating (5 stars through 1 star, No Stars)
- Add to Group (submenu of project groups)
- Source File (submenu of the photo’s source files) — see Source File
- Reject — toggles the rejected flag on the selection
- Remove from… (contextual: Group, Starred, or Rejected)
- Remove from Project
- Move File to Trash
The context menu is available in both Grid and edit modes.
Grid Filters
| Shortcut | Action |
|---|---|
| Cmd+Shift+F | Show/Hide Filters |
| Cmd+Shift+Option+F | Reset Filters |
| Cmd+Option+1 – Cmd+Option+5 | Filter by star rating |
| Cmd+Option+0 | Filter to unstarred |
The filter bar includes an “at least” / “exactly” toggle for star rating comparison. For example, “at least 3 stars” shows 3, 4, and 5 star photos, while “exactly 3 stars” shows only 3 star photos.
Zooming the Grid
In Grid mode, Zoom In and Zoom Out adjust the grid thumbnail size (number of columns).
| Shortcut | Action |
|---|---|
| Cmd+Plus | Zoom In (fewer columns, larger thumbnails) |
| Cmd+Minus | Zoom Out (more columns, smaller thumbnails) |
Zooming the Photo
In View and Develop modes, the photo appears in one of two zoom modes:
- Inset — the photo fits inside the window with a margin. Zooming in and out affects the inset: small, medium, large.
- Pixels — scales the photo relative to its own pixels, independent of the window size: 25%, 50%, 1:1, 150%, 200%, 300%, and 400%.
Space toggles between the two modes, returning to the last-used size in each. Clicking the photo also toggles, zooming in toward the point you clicked. A toast reports each change (e.g. “1:1 Pixels”, “Small Inset”, “150%”).
Inset mode is a comfortable view, incorporating the background color for relative color contrast. Zooming out can be beneficial to see the photo’s composition or to visualize how it may feel when viewed on a phone. Pixels mode lets you inspect pixel-level detail; focus, noise, grain, etc.
| Shortcut | Action |
|---|---|
| Space | Toggle between Inset and Pixels modes |
| Cmd+Plus | Zoom In — step to the next size in the current mode |
| Cmd+Minus | Zoom Out — step to the previous size |
| Cmd+Shift+Minus | Fit Window (Small Inset) |
| Cmd+Shift+Plus | 1:1 Pixels — the image at its native pixel size |
| Cmd+Shift+0 | Fill Window — fills the window, cropping the overflow |
Panning: in Pixels mode, drag or scroll to pan the photo. Aphera remembers the pan position per photo; in Inset mode the photo stays centered.
The zoom mode stays put as you navigate between photos — Aphera does not save it per photo.
Audition
Hold \ (backslash) to temporarily view the original, unedited photo. Release to return to the edited view. This works in any mode that displays a photo.
View > Before Edits switches the same preview on and leaves it on until you turn it off.
While the preview is active the toolbar shows a Before Edits readout. When you switch it on from the menu the readout has an ✕ that ends it; during a key hold no ✕ appears.